|
In this exercise you will view a Java GUI project. The code has been commented to help you understand how the GUI interface is produced.
- Download the GUI_Lessons BlueJ Project. Extract the files and place a copy in your I: drive Programming 2 folder.
- Use BlueJ to open the GUI_Lessons.
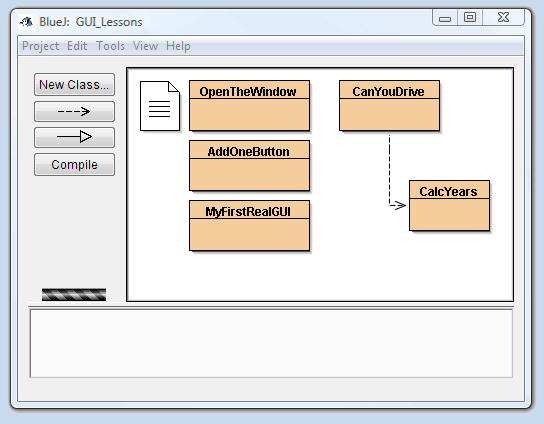
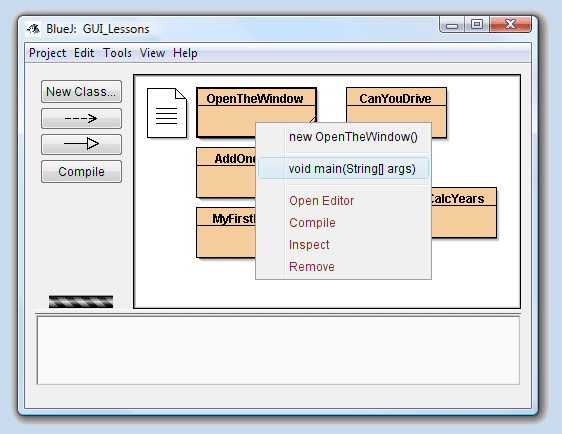
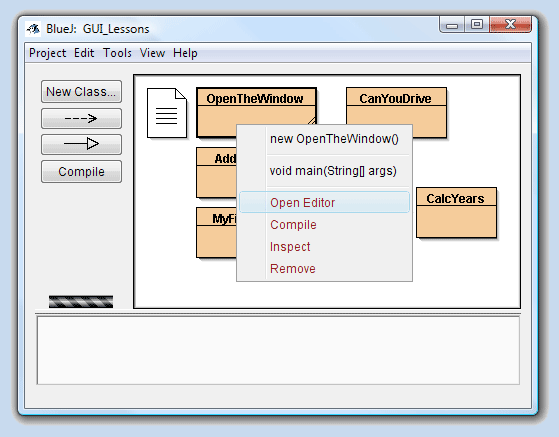
- Right-click on the OpenTheWindow class and choose void main(String[] args).
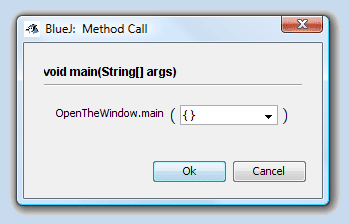
- Press the OK button in the BlueJ: Method Call window.
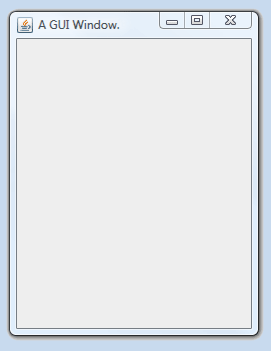
- Notice that the window when opened has a title of A GUI Window. Later you will see in the code where the title is set.
Because there is no Exit button in the program, press the Close button in the upper right hand corner of the window when you are finished.
- In the BlueJ project window right-click on the OpenTheWindow class and then select Open Editor to view the code. Notice that nearly all of the lines of code have comment (appearing as gray text) that explains what the code does. Read through the code and comments to get an idea of how the code produces the GUI program.
- The go method code contains a line that tells the computer where to display the Java application. The line of code: aWindow.setBounds(400,400,250,325); is that line. In this example the window opens at a location that is 400 pixels from the left edge of the monitor and 400 pixels from the top edge. The size of the window is determined by the second two numbers. In this case the numbers 250,325 are used. The width of the window is 250 pixels and the height is 325 pixels.
- In the next example a button has been added to the program. The button will be used to exit the program. Right-click on the AddOneButton class and select void main(String[] args). Press OK in the method call window. Notice the red colored Exit button in the window. Exit the program.
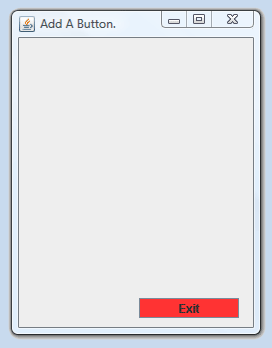
- View the code for AddOneButton. Pay particular attention to the comments for the code that relates to the button and its coloring. Play with some of the values in the color object, the numbers can range from 0 - 255. Also try other values for the placement and size of the button.
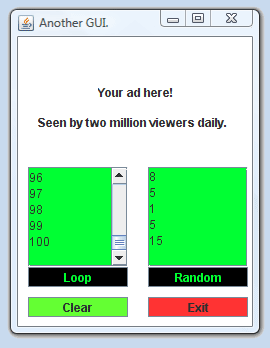
- In the MyFirstRealGUI example there are a number of new elements added. Right-click on MyFirstRealGUI and execute the main method. Pressing the Loop button causes the computer to display the numbers from 1 to 100. Pressing the Random button causes the computer to display five randomly selected numbers ranging from 1 to 20. Pressing the Clear button causes the computer to empty the contents of the text areas. Press the Exit button when you are finished viewing the program.
- Right-click on CanYouDrive and execute the main method. Enter a number in the text field and then press the Calculate button. Try different values to see the responses. Press the Exit button when you are finished viewing the program.
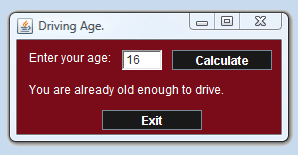
- Open the Editor and view the code for the CanYouDrive class. Notice that the code is used to create an instance of the CalcYears class. View the code of CalcYears and make sure you understand how it is used.
|